Google's Android 4.2 update comes without Developer Options disabled. If you need it enabled, keep reading! I'm going to keep this short and sweet (but image heavy)!
How to enable
Developer options on an Android Jellybean (done on my
Cherry Mobile Flare HD):
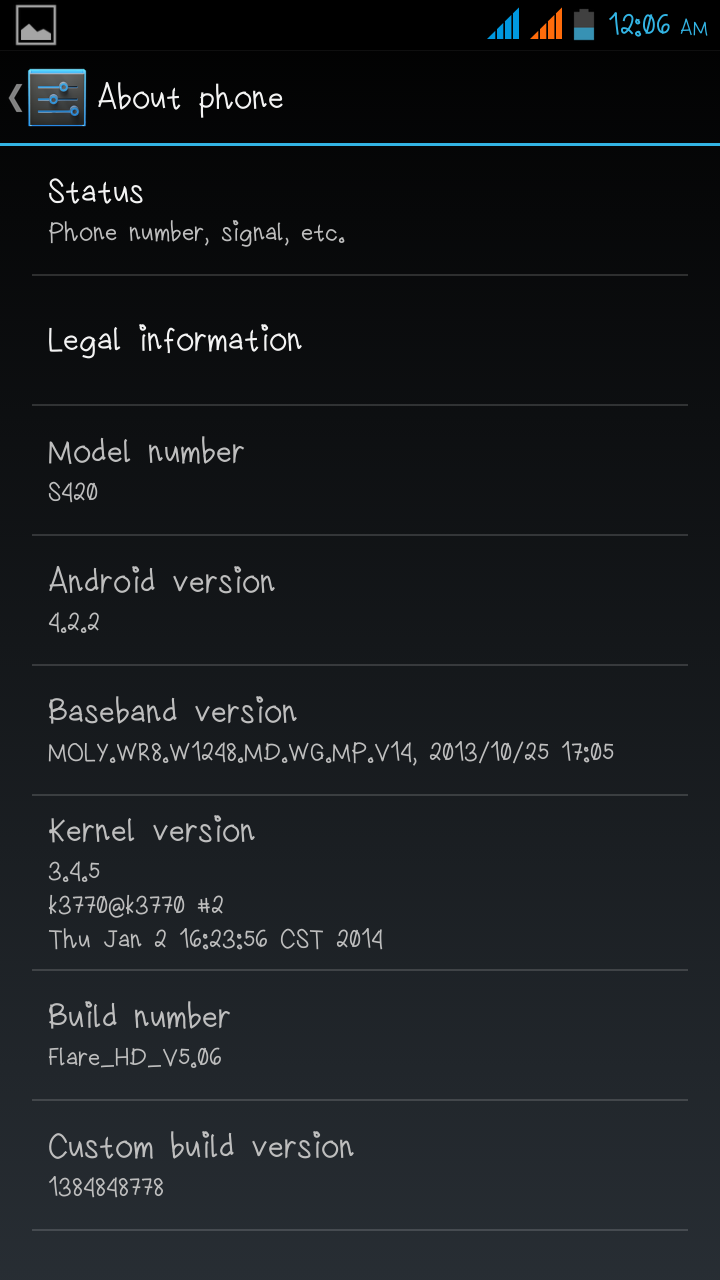 |
| Go to Settings > About phone |
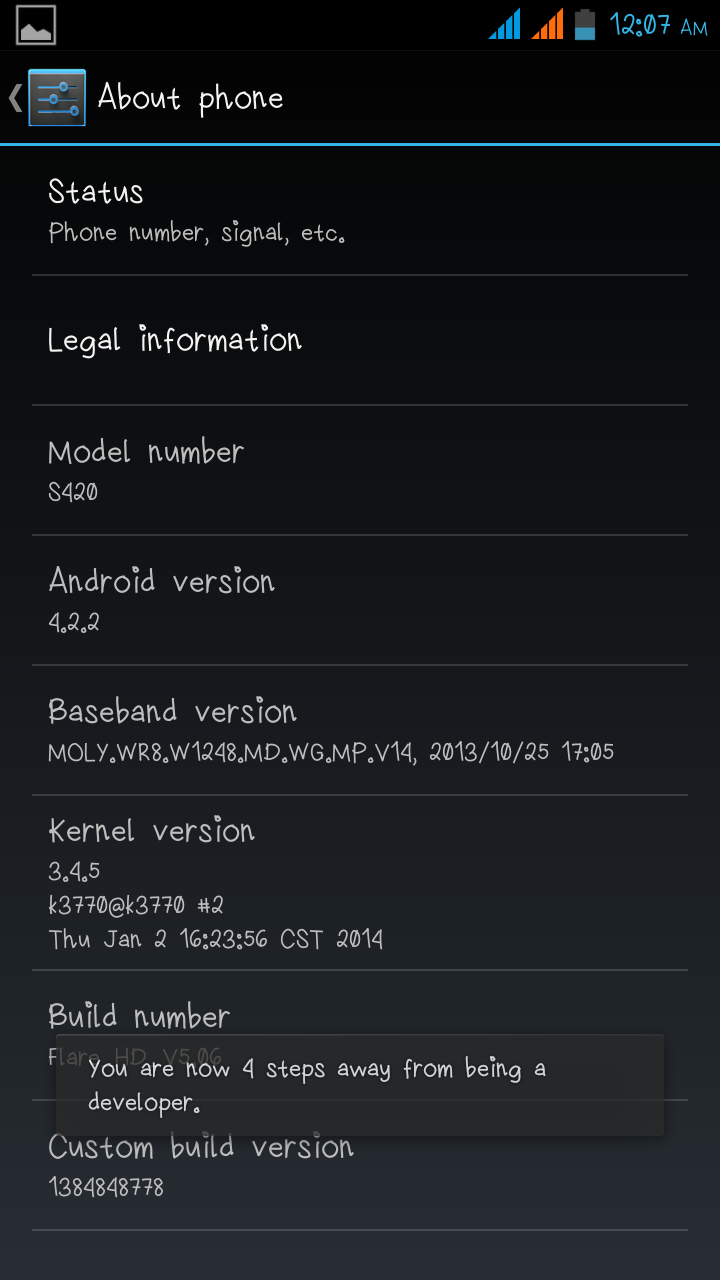 |
| Tap on the Build number 7 times |
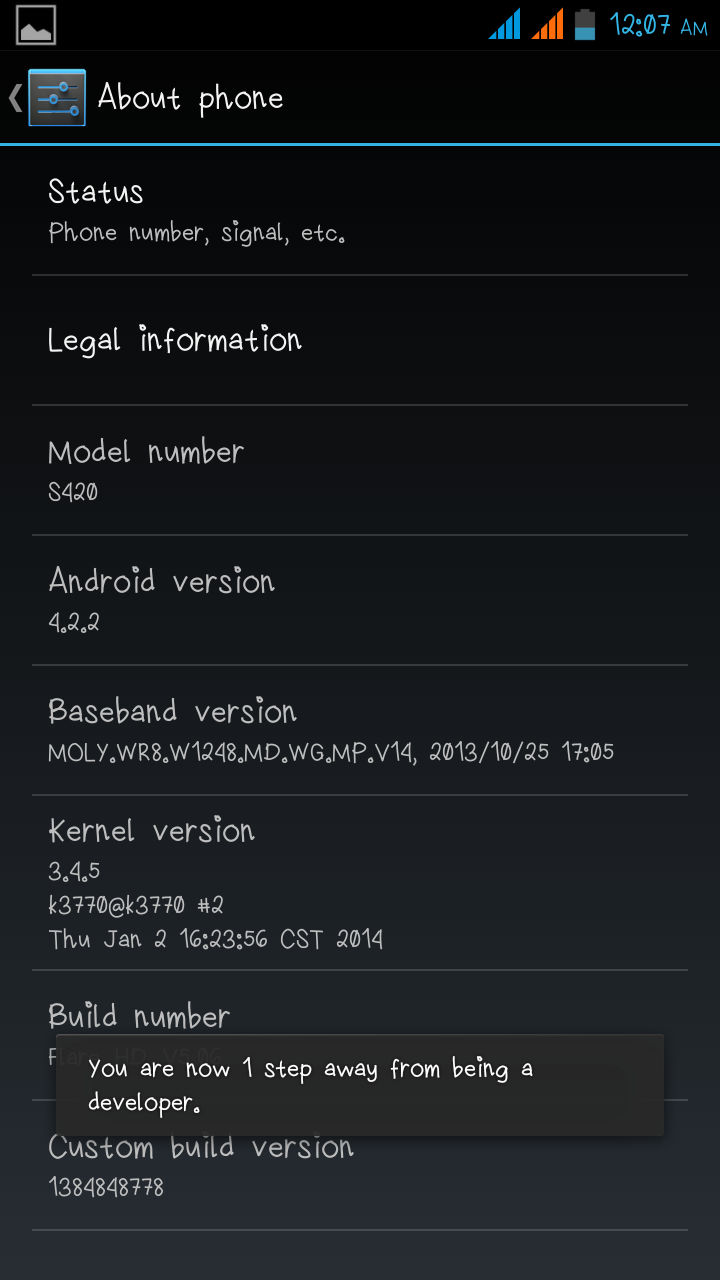 |
| Yes 7 times! |
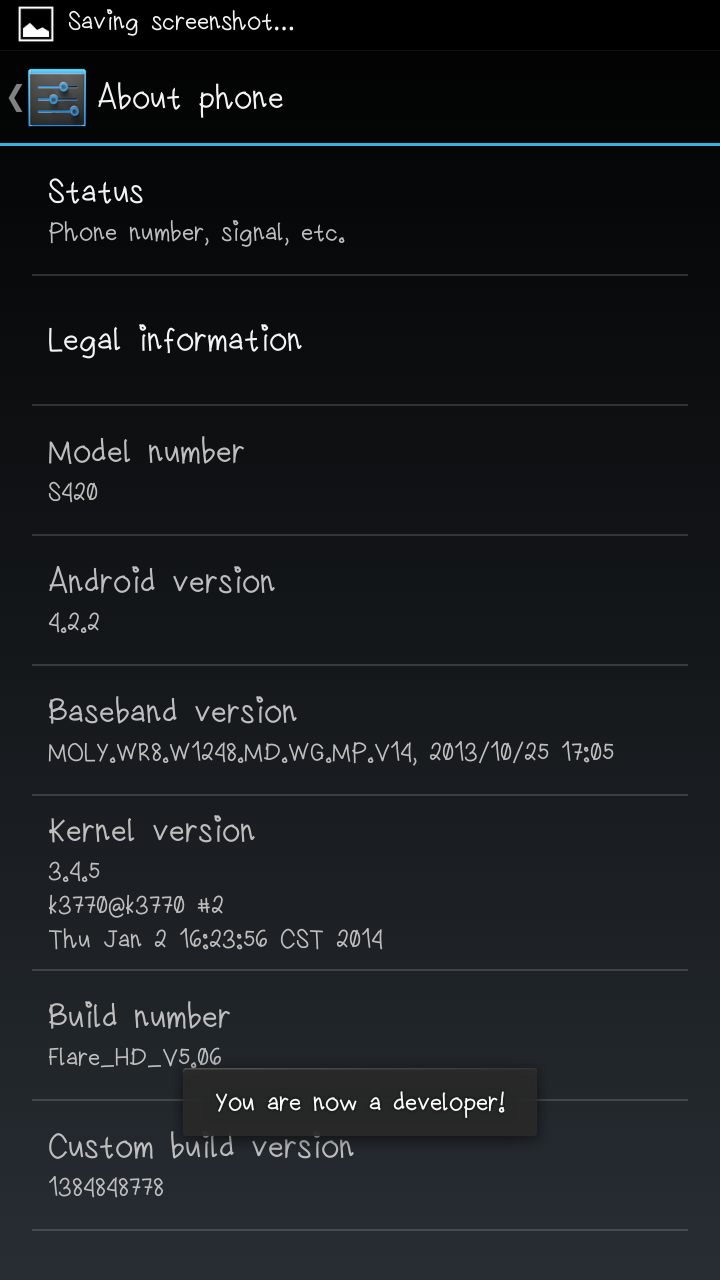 |
| Developer Options enabled! |
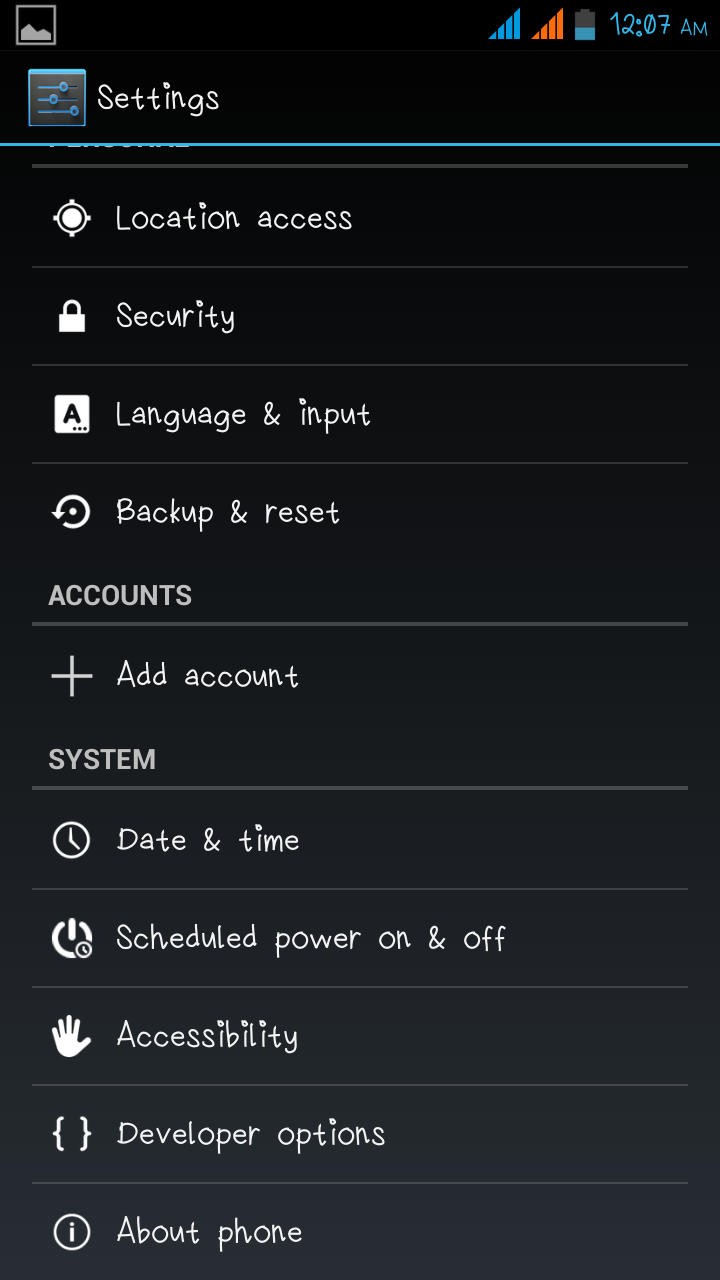 |
| Developer options now visible under Settings > System |
How to enable Developer options on an Android Jellybean running Zen UI (done on my Asus Zenfone 5):
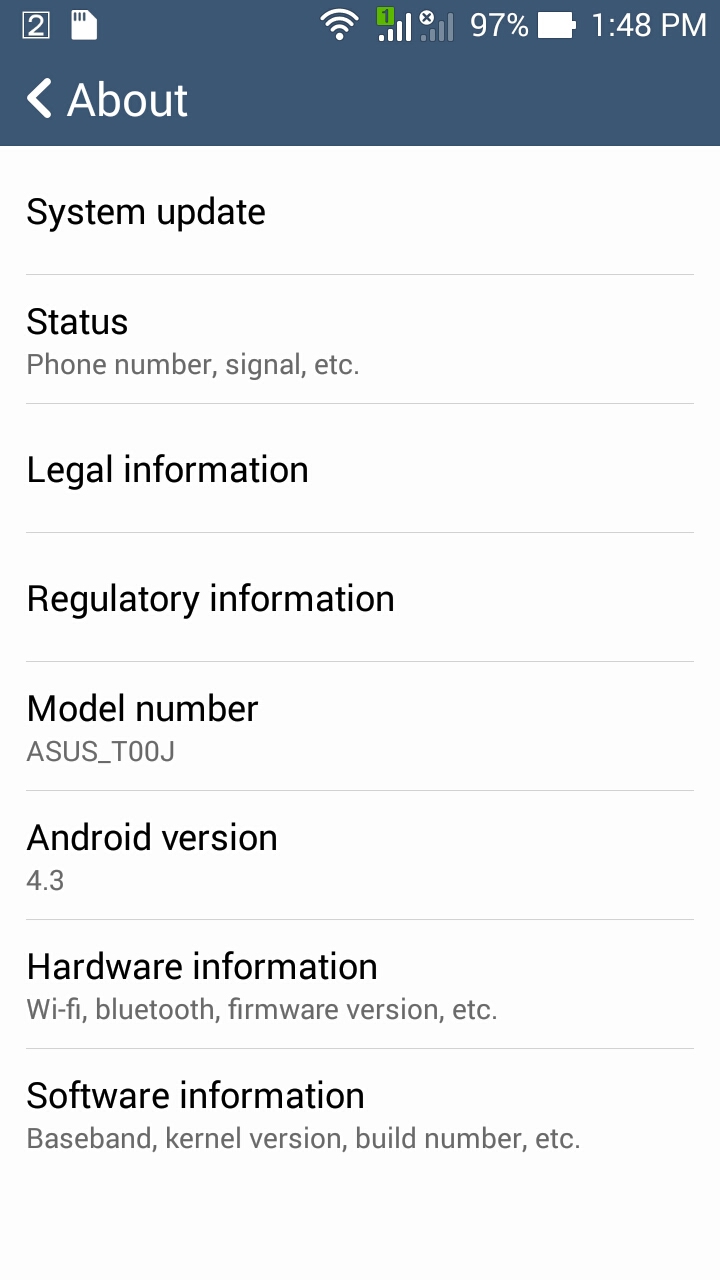 |
| Go to Settings > About phone |
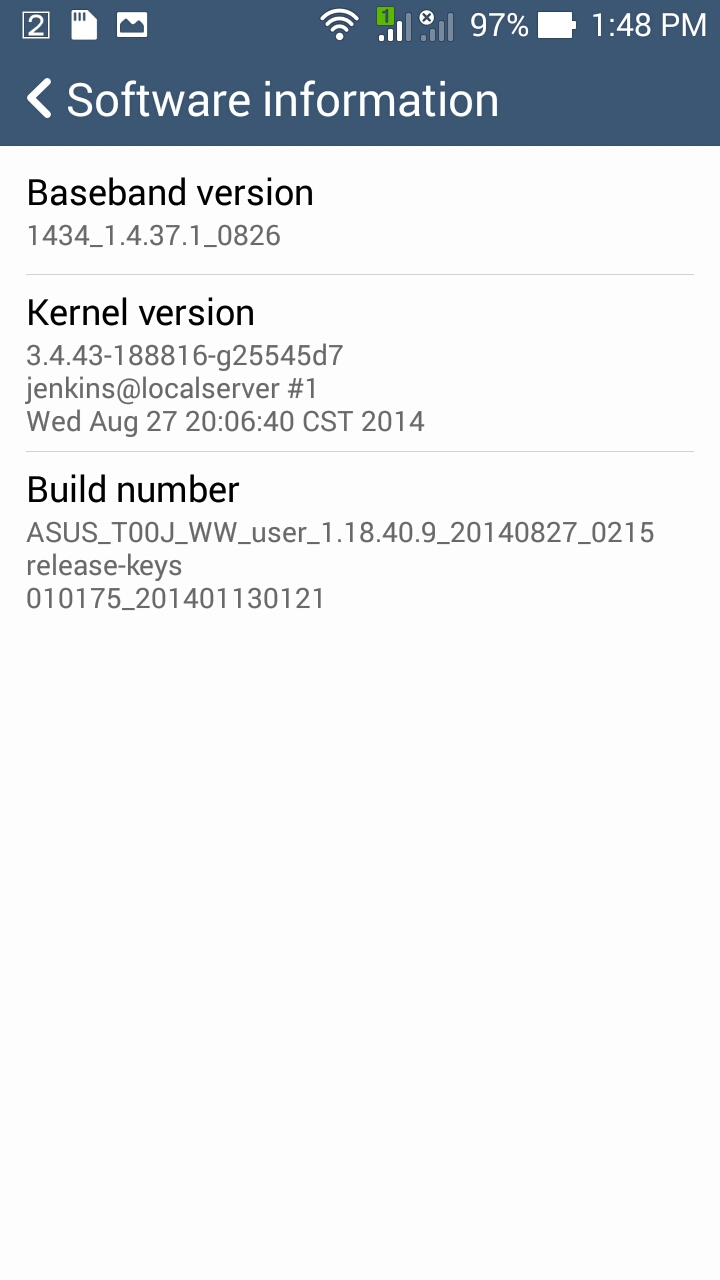 |
| then go to Software information |
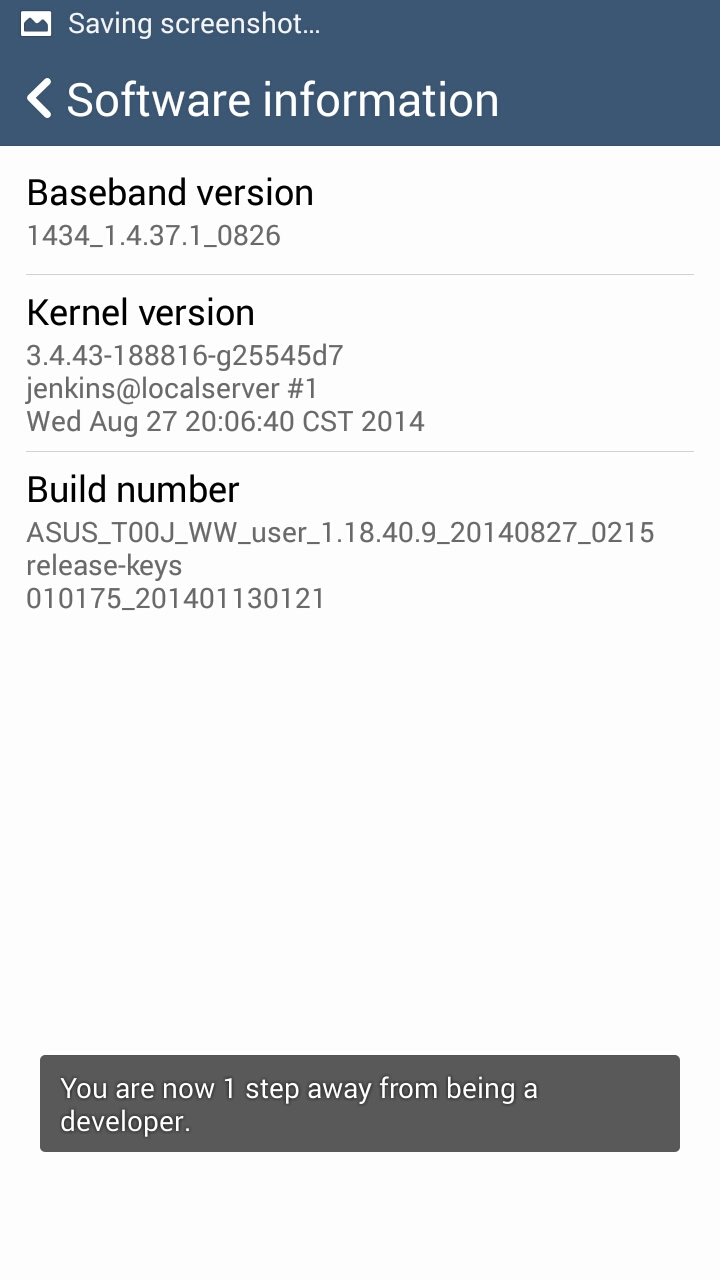 |
| Click on Build number 7 times |
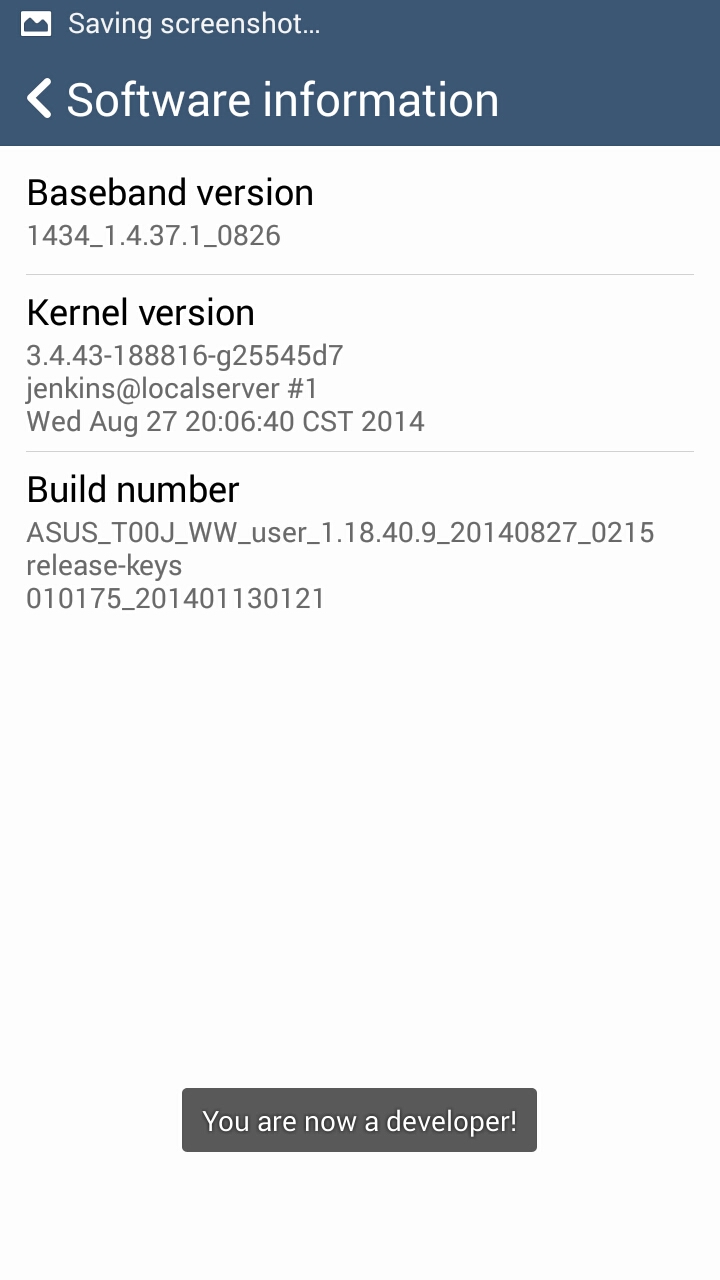 |
| Developer Options enabled! |
How to enable
Developer options on an Android KitKat running Zen UI (done on my sister's
Asus Zenfone 4):
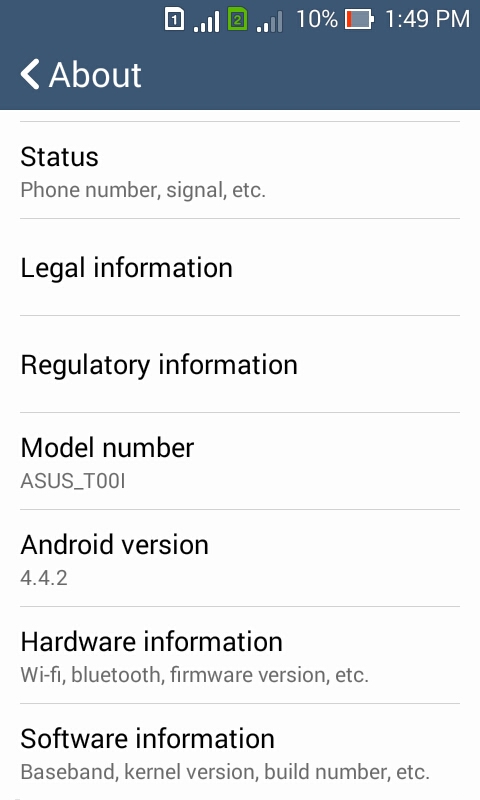 |
| Go to Settings > About Phone |
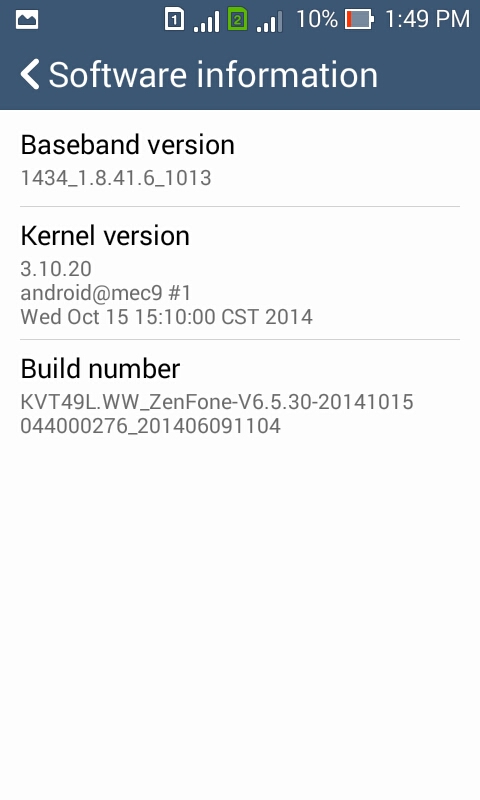 |
| then go to Software information |
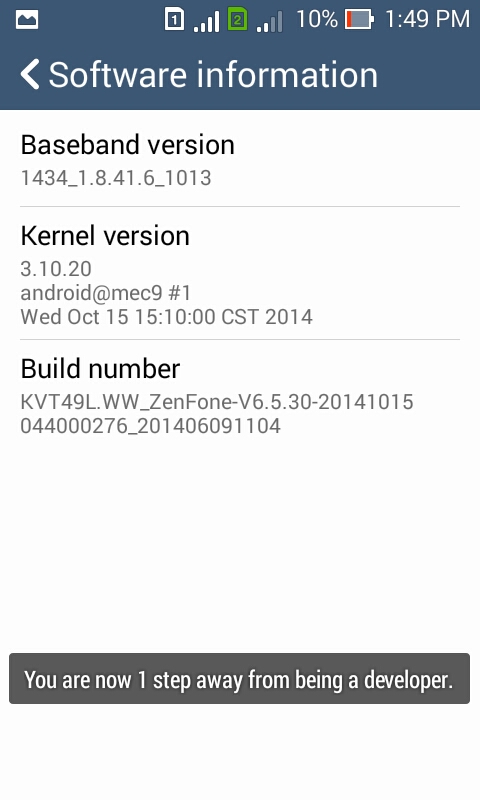 |
| Click on Build number 7 times |
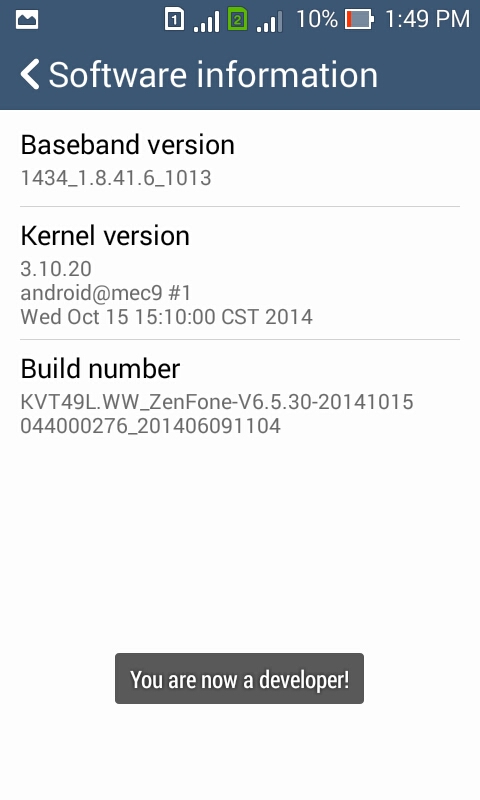 |
| Developer Options enabled! |
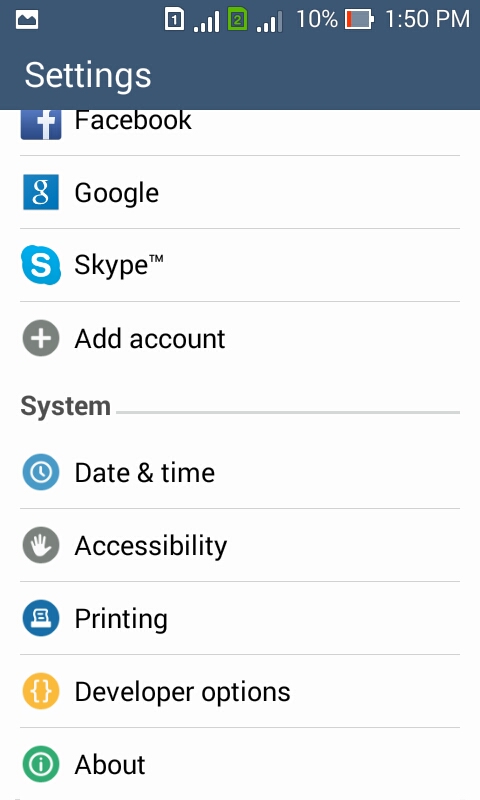 |
| Developer options now visible under Settings > System |
There you go!
Procedure for other Androids 4.2 and above should be the same. You just navigate to where the
Build number is displayed and click on it
7 times to enable
Developer Options.
One of the most common features used under
Developer Options is
USB debugging. One reason to have it enabled is if you're looking into
rooting your Android phone.
Interested in rooting your Asus Zenfone? Watch out for the tutorial soon!


No comments:
Post a Comment