|
| Keep Calm and Root Your Android! |
Hi! I'm back and here's the tutorial I promised since November of last year! This is actually my second rooting tutorial. I talked about
rooting,
why you should root your phone, and
my Android rooting history in my first tutorial. I also suggested
root apps in that blog entry. If you're new to
rooting, please read those sections first! Click
HERE.
!! Important !!
Please be informed that rooting voids your warranty. If you did not install custom ROMs or custom Kernels, and did not uninstall stock apps, unrooting your device can possibly unvoid your warranty. Also, Catnippy will not be responsible if your device gets bricked. To avoid this, please read and follow the instructions carefully.
Please continue at your own risk! Catnippy will not be responsible for any damage caused directly or indirectly by rooting your device.
STEPS:
1) Download the
lastest RootZenFone app from the
Asus Zenfone Blog.
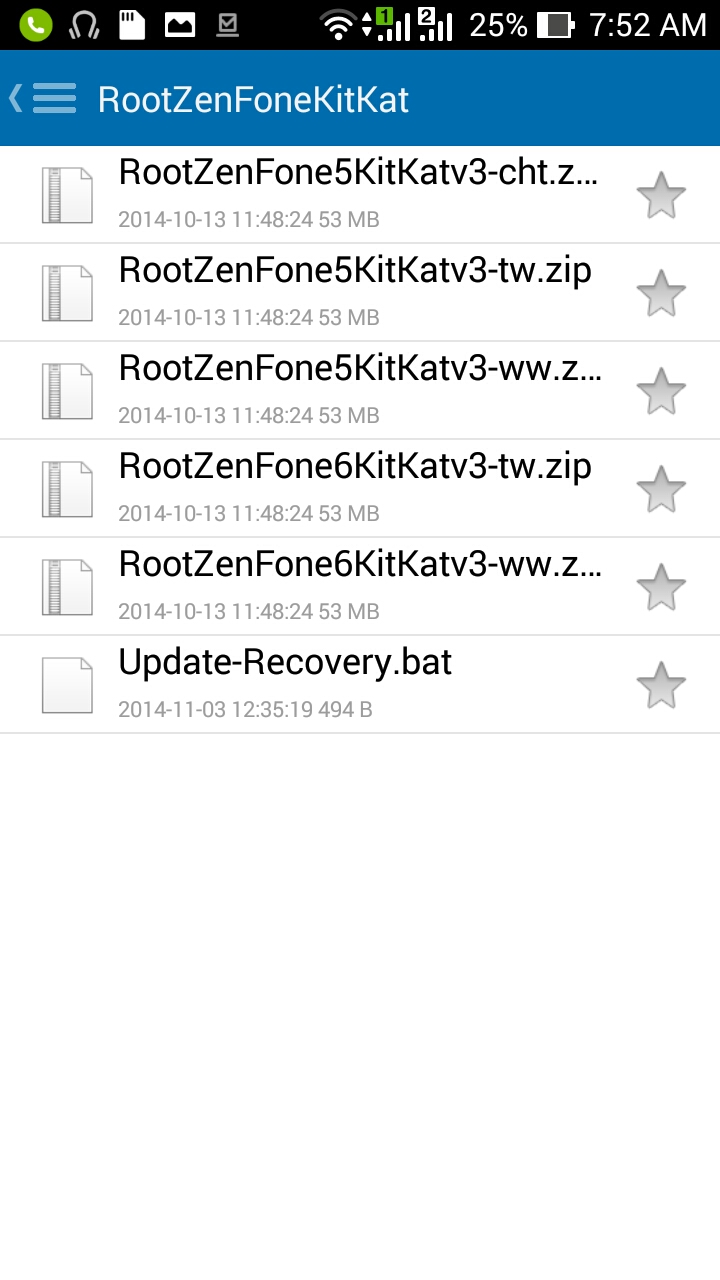
2) Locate the file on your phone and extract the correct RootZenFone5
apk file according to the firmware version your ZF5 is running.
 |
| Extract the correct apk file |
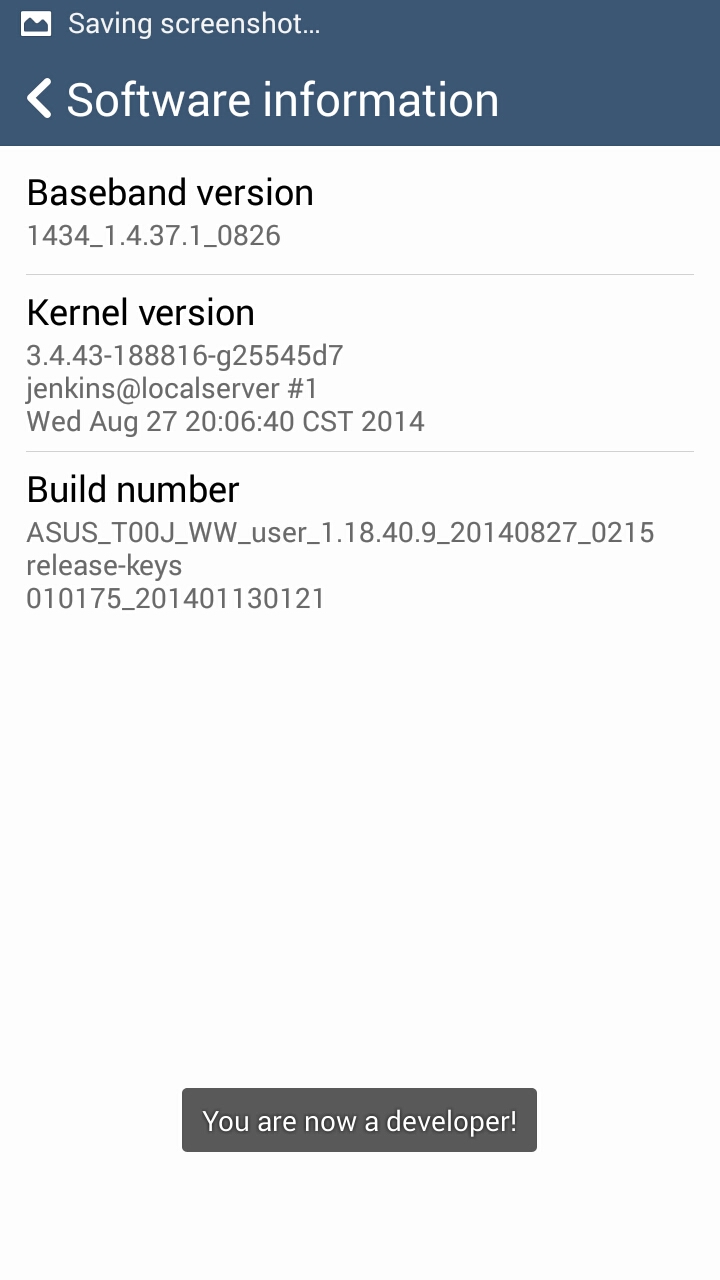
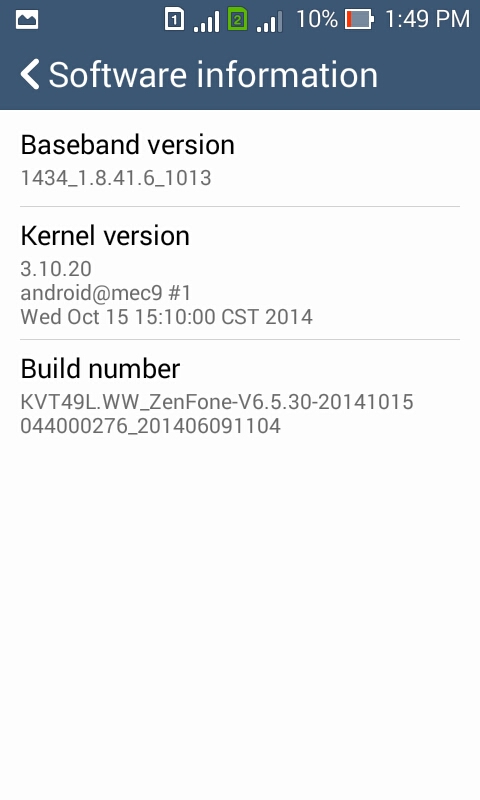
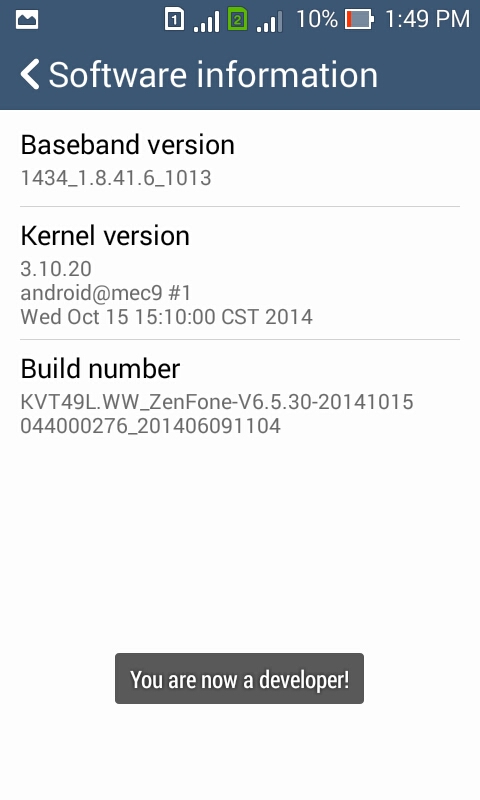
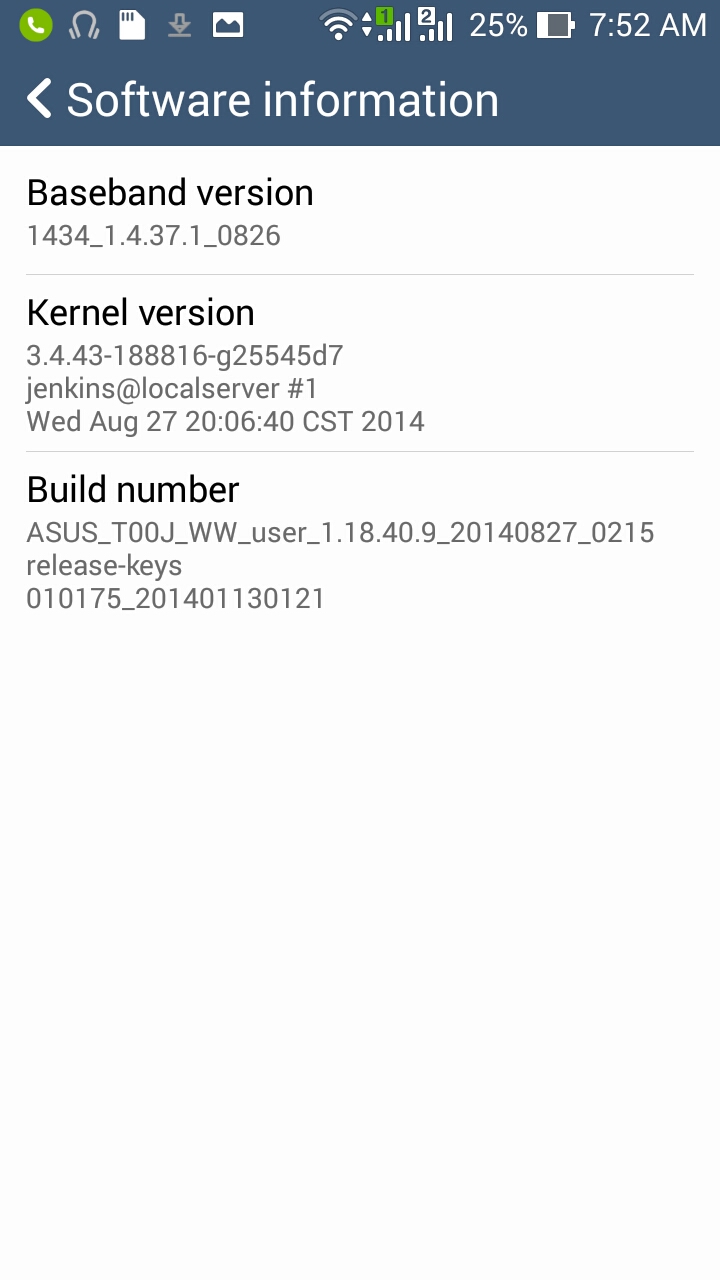
How to check the firmware version of your Asus Zenfone 5
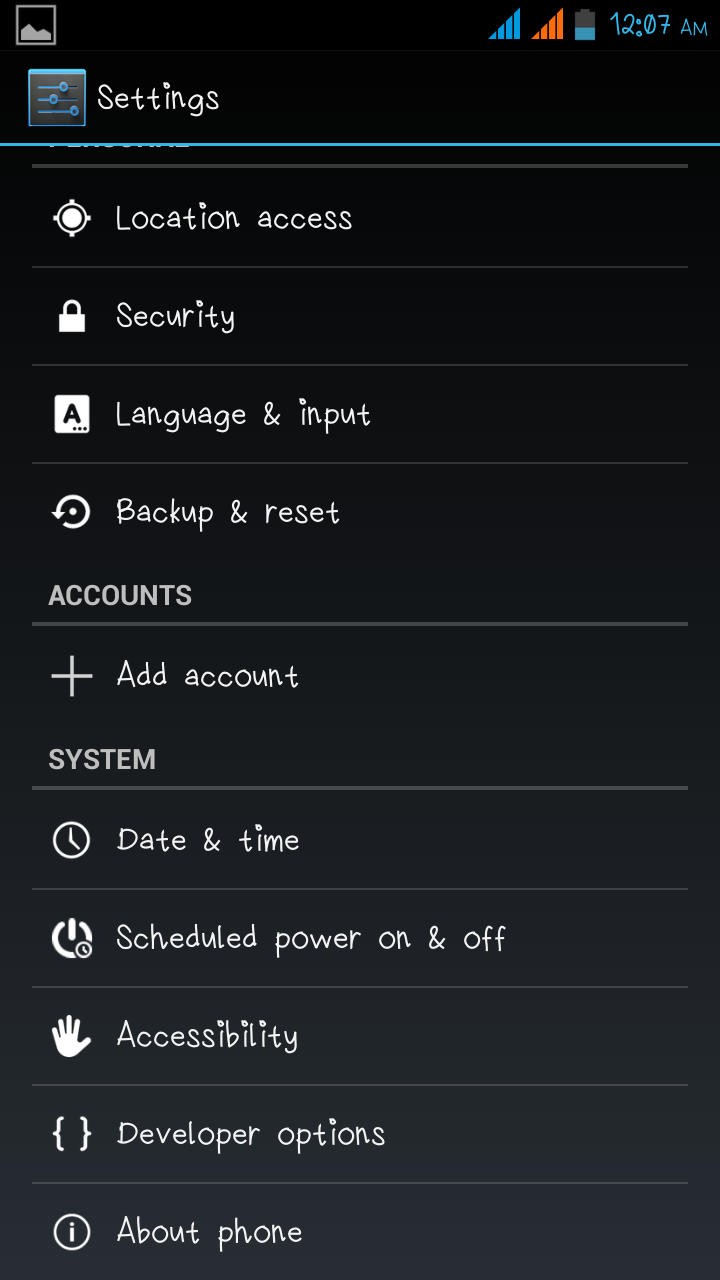
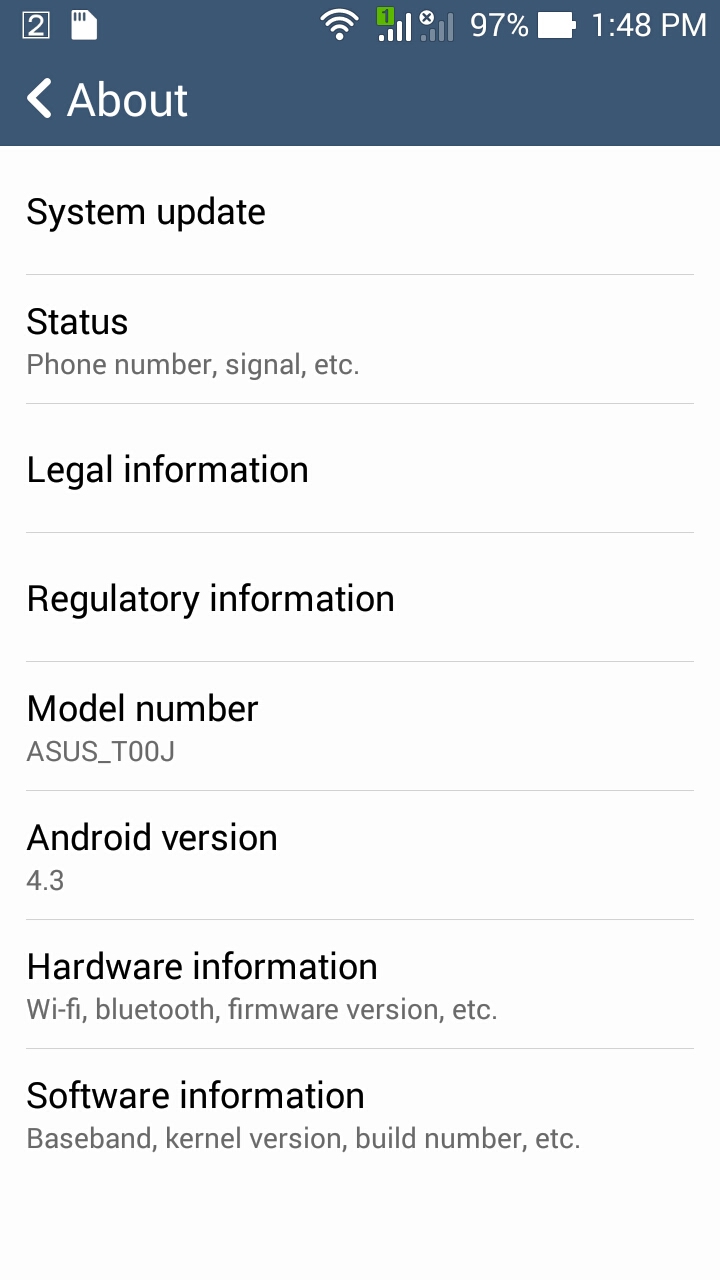
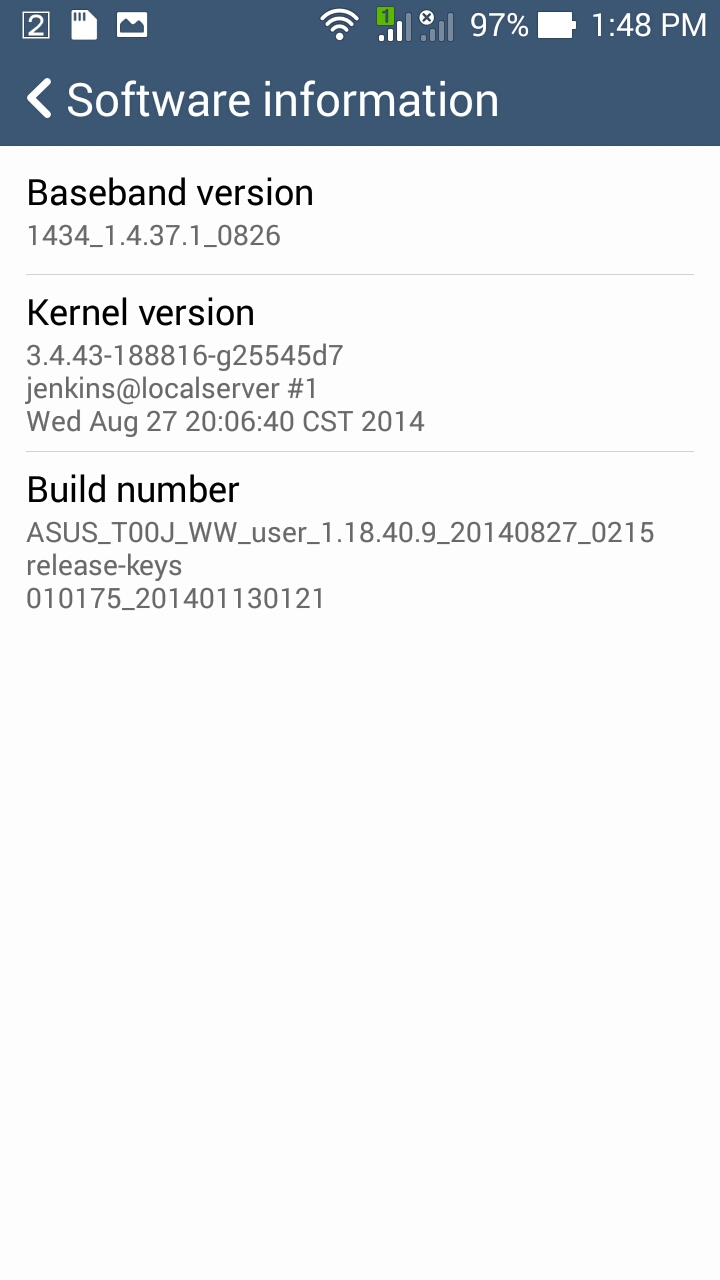
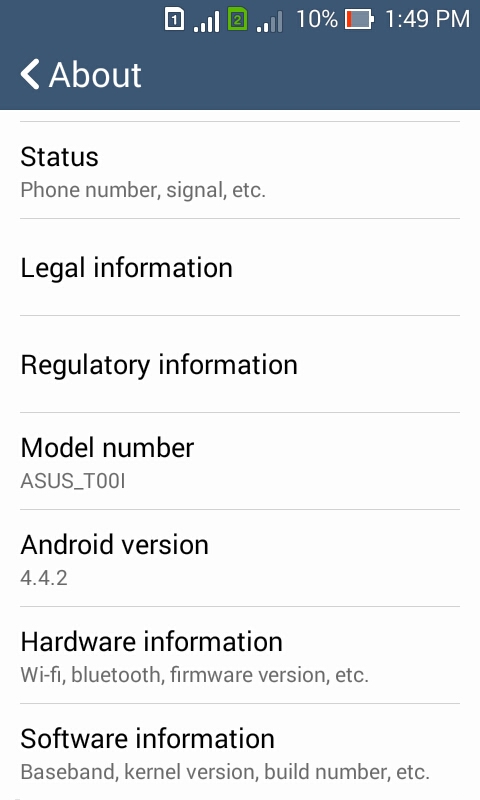
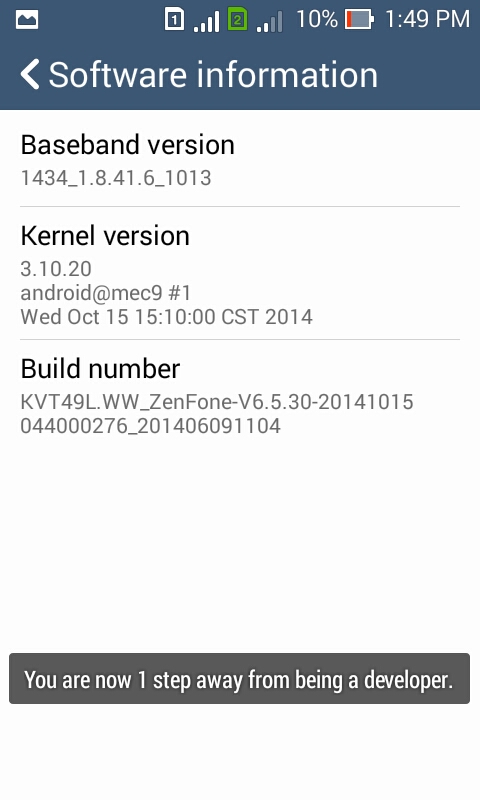
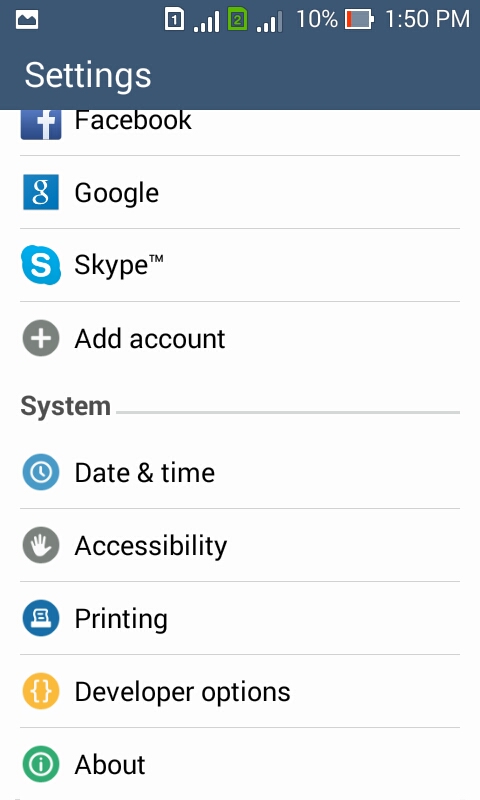
- Go to Settings > About > Software information
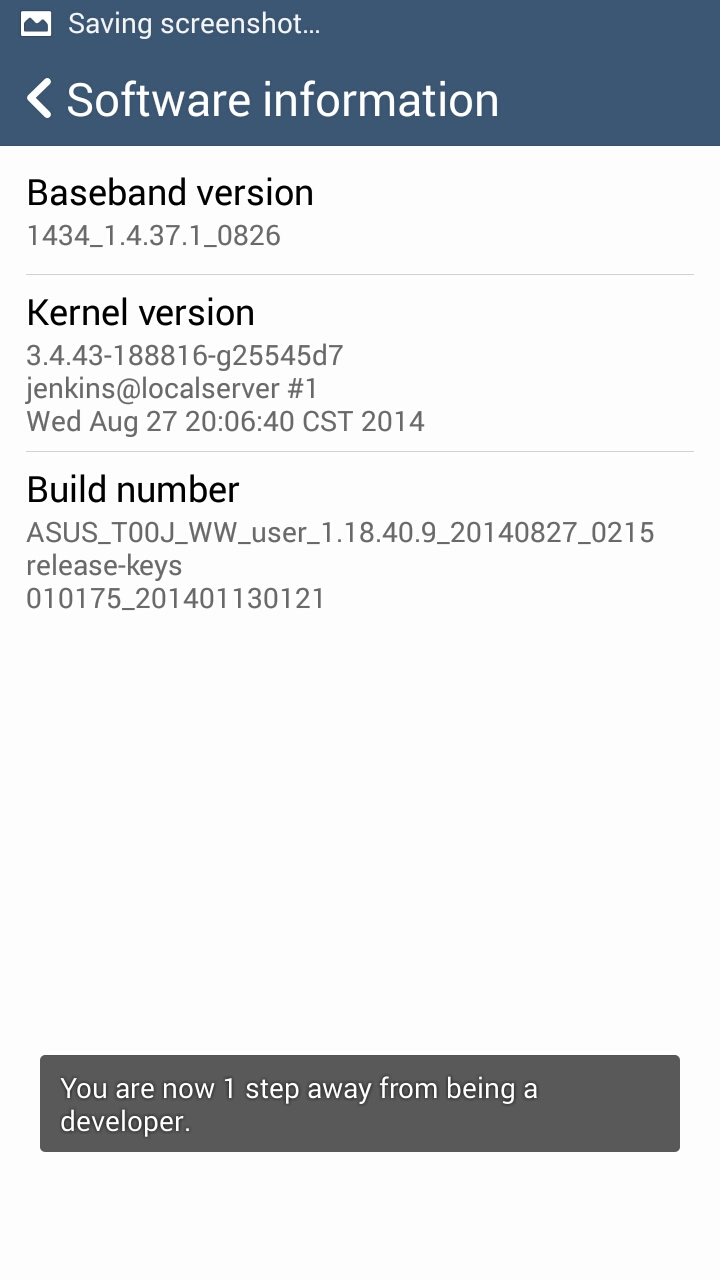
- Under Build number, you will see which firmware version your ZF5 is running. It will be either CHT, TW, or WW.
 |
| Go to Settings > About > Software information |
3) Install apk file.
 |
| Install Root ZenFone |
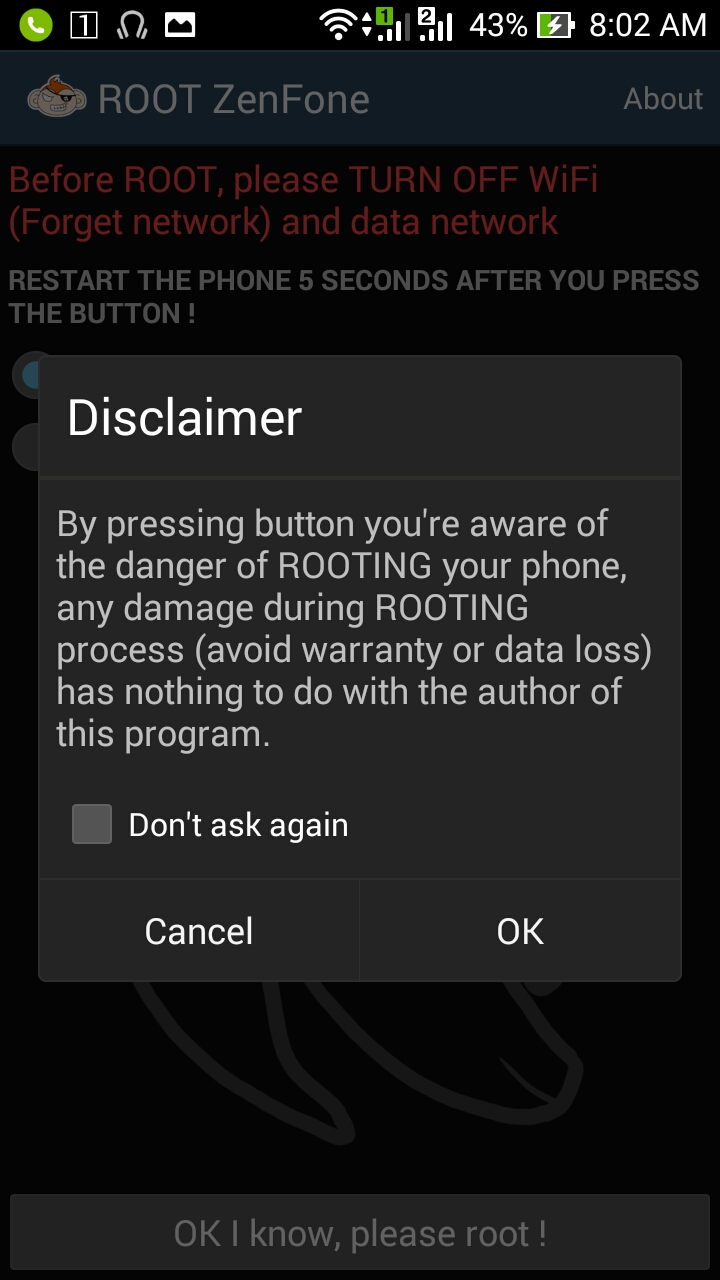 |
| Disclaimer |
Before we continue, what happens if you don't TURN OFF Wi-Fi and data network? Since I was feeling a little bold. I did it so you, my dear readers, don't have to!
Do not try this at home!
If you press "OK" without turning off your internet connection, the phone opens a page that provides you with information about the Asus Zenfone 5. While this is far from harmful, it does hinder the app from rooting your phone. So remember to turn off your internet connection to proceed with the root!
Since we're already here, Asus Zenfone 5 Features and Specs:
 |
| Zenfone 5 |
 |
| Features |
 |
| Processor |
 |
| Camera |
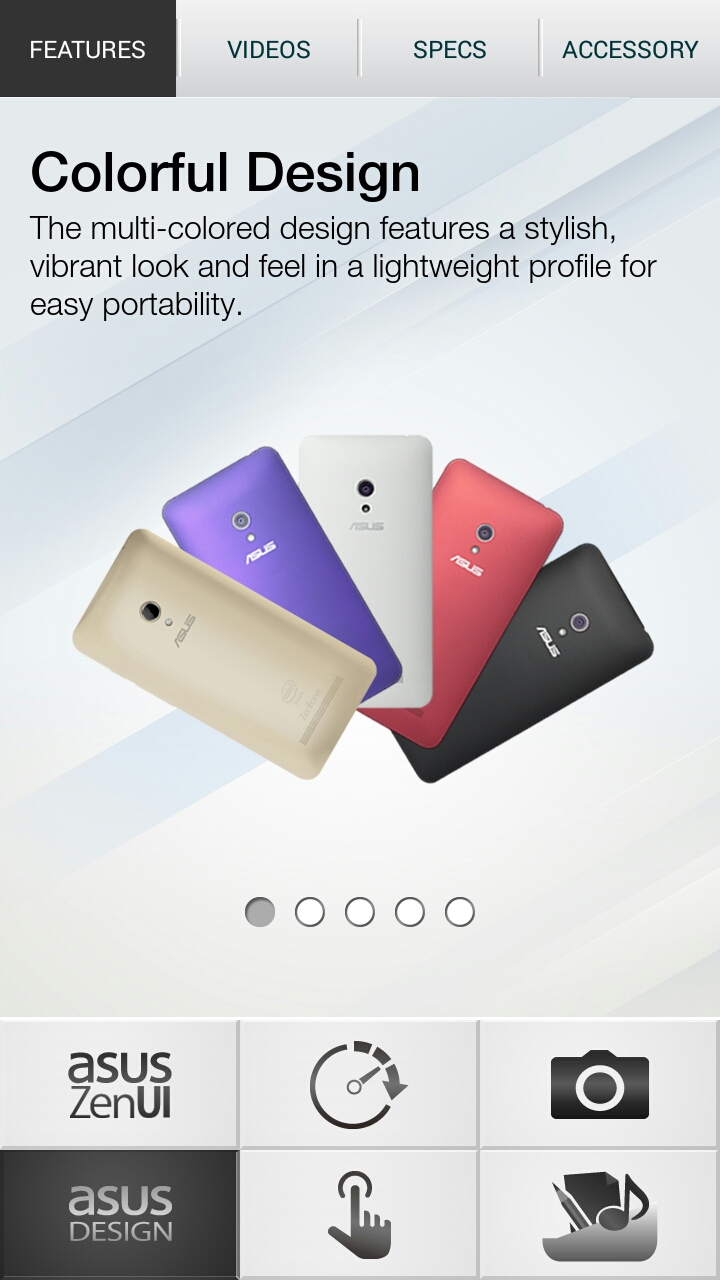 |
| Design |
 |
| GloveTouch |
 |
| Asus Cloud |
 |
| Videos |
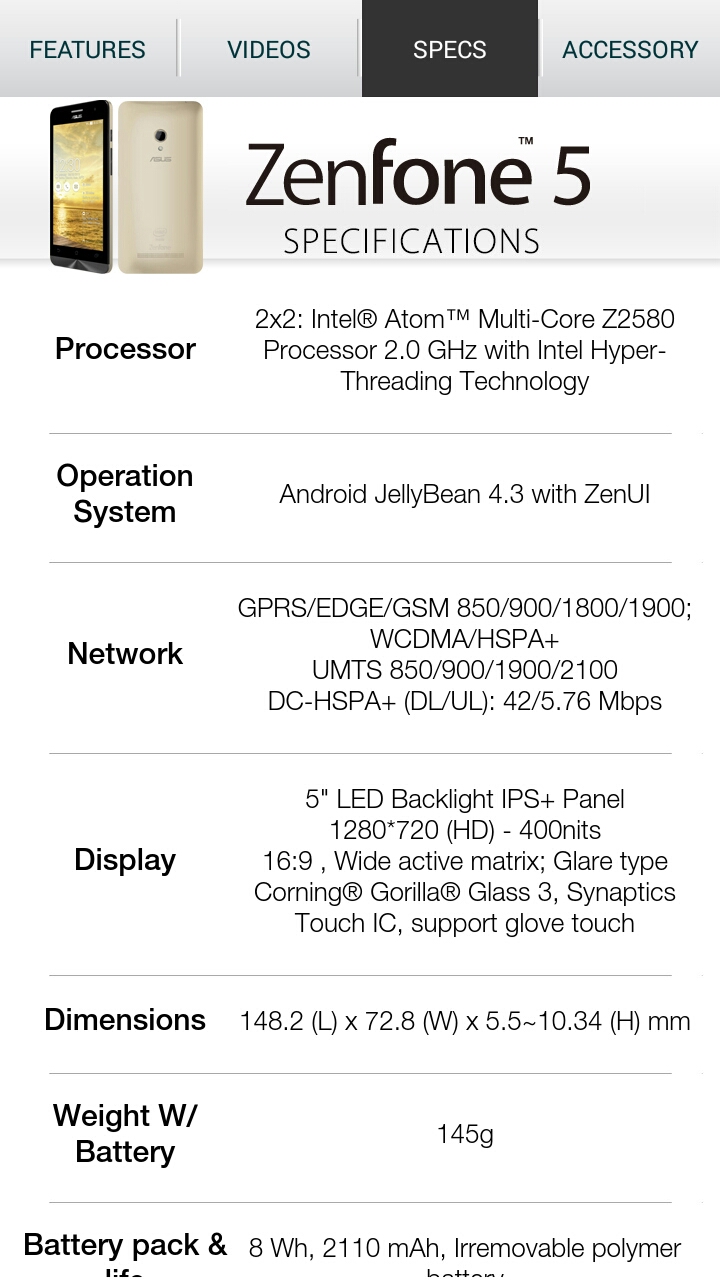 |
| Specs |
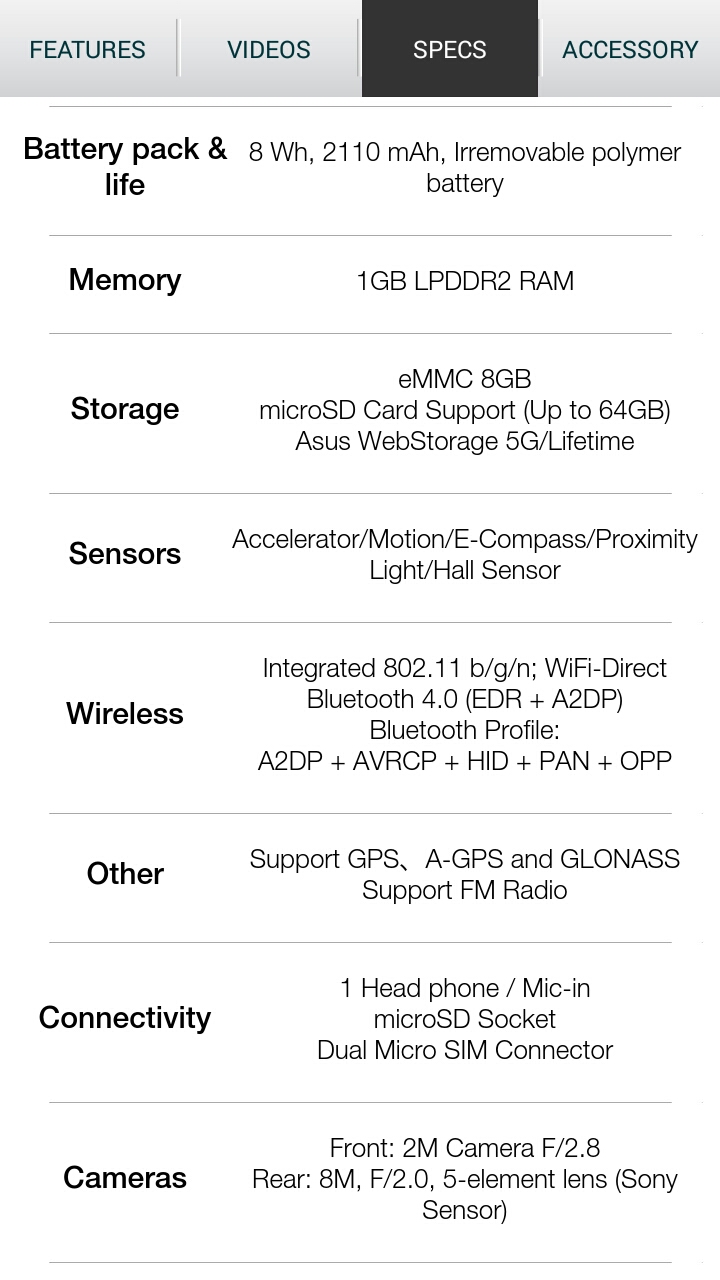 |
| Specs continued |
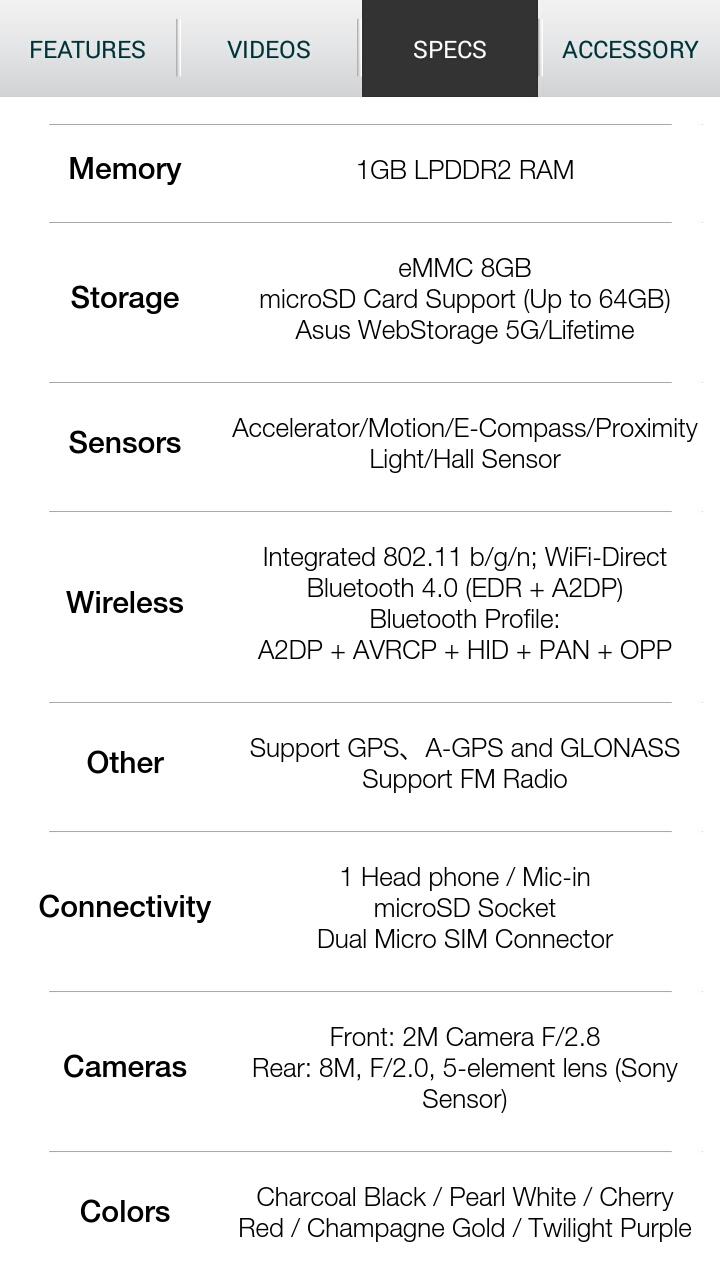 |
| Specs continued some more! |
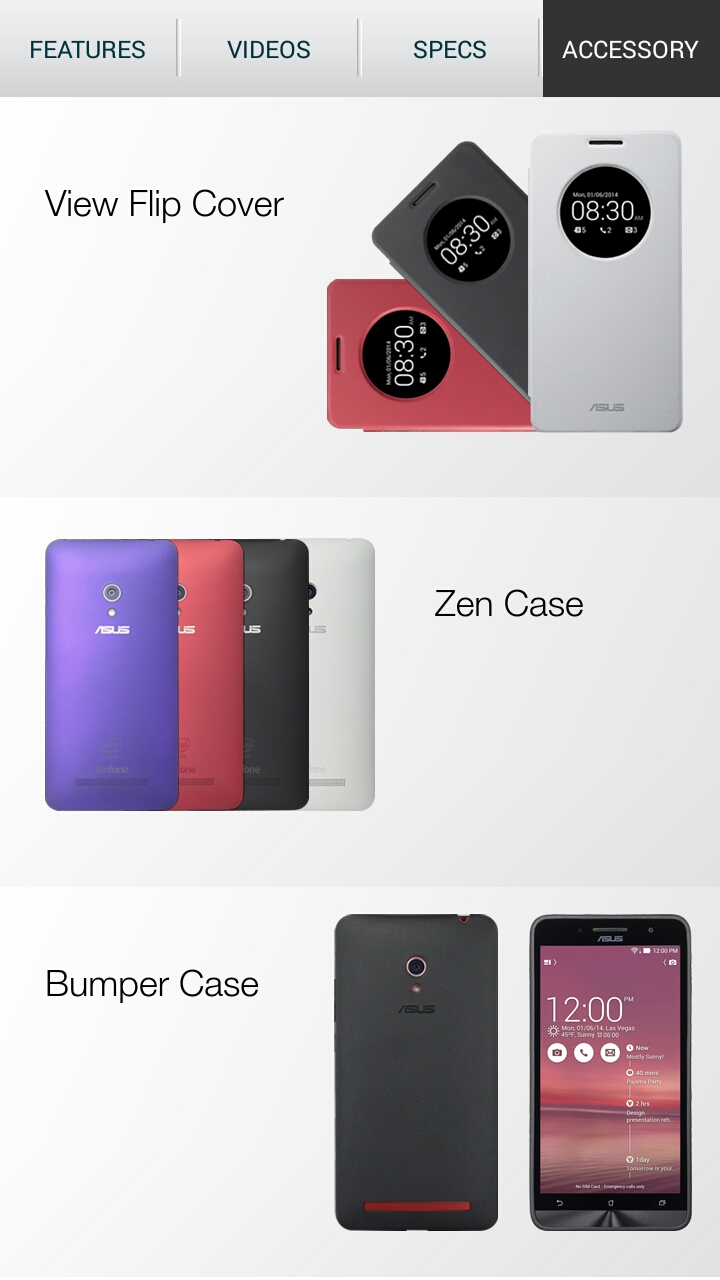 |
| Accessories |
To continue with rooting your ZF5, turn off your internet connection and click "OK".
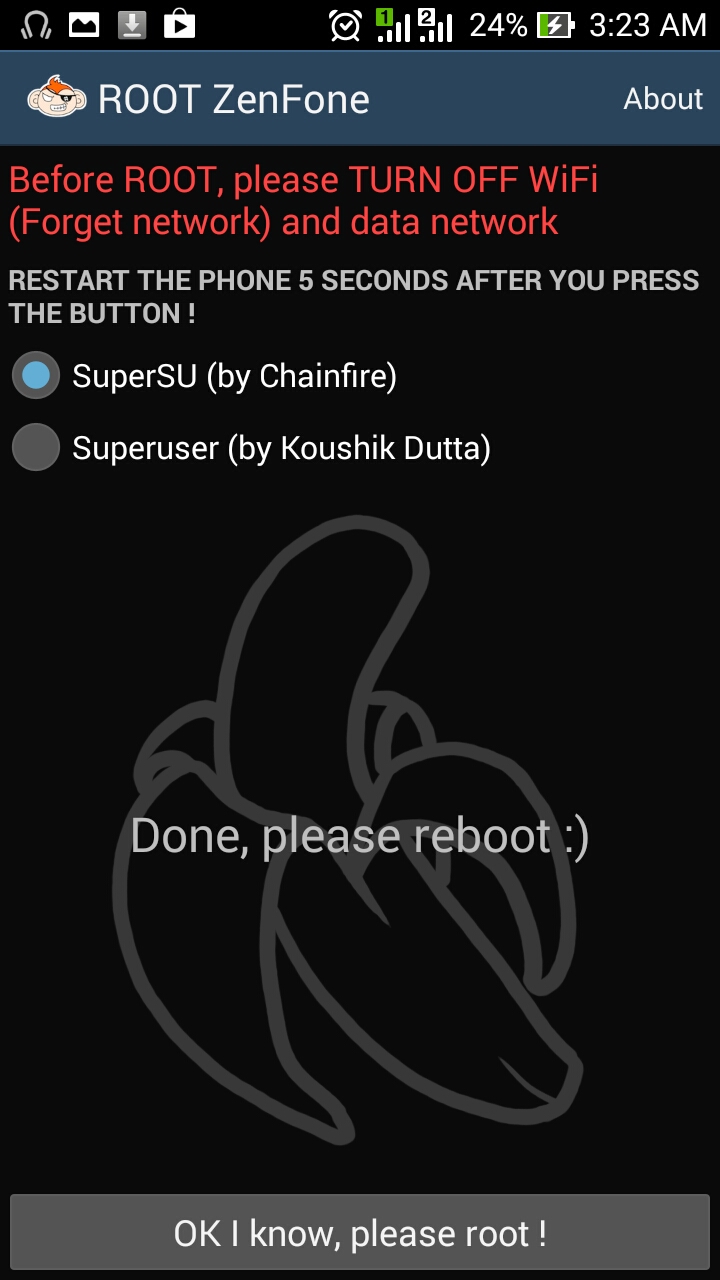 |
| Reboot phone after rooting |
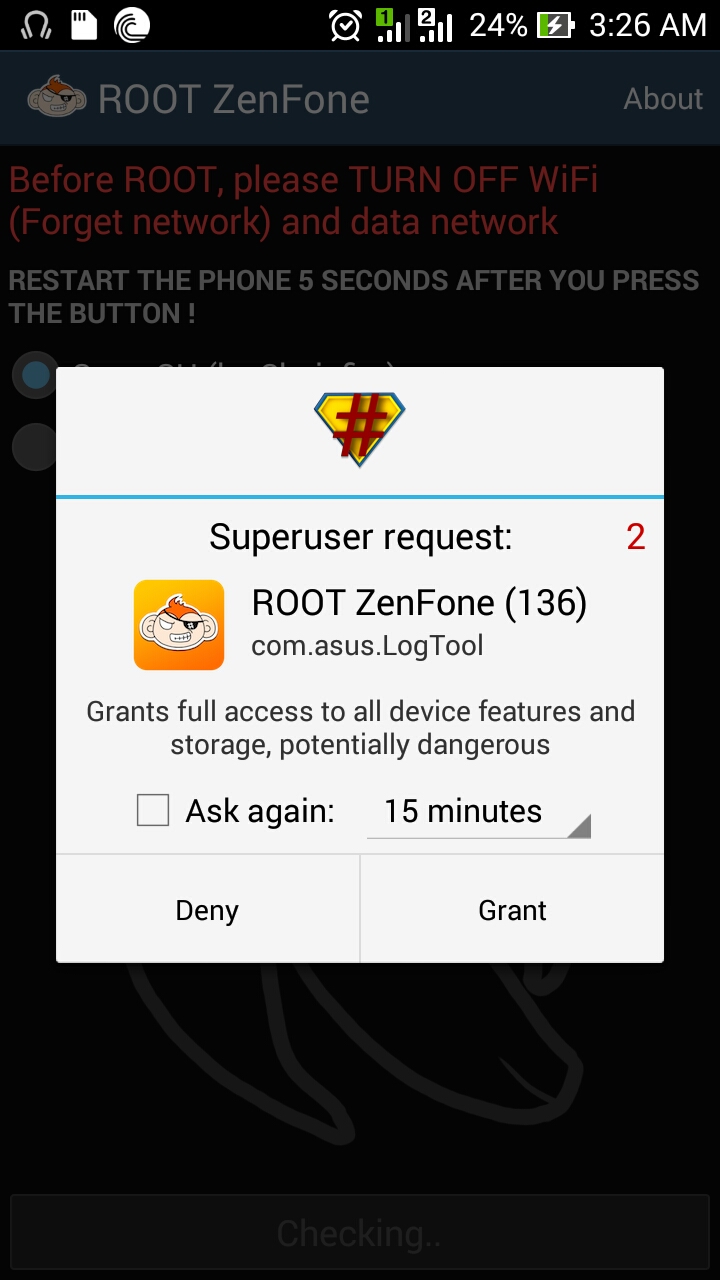 |
| Choose "Grant" |
After rebooting, when you launch the
Root ZenFone app
again, it will confirm if the root was successful:
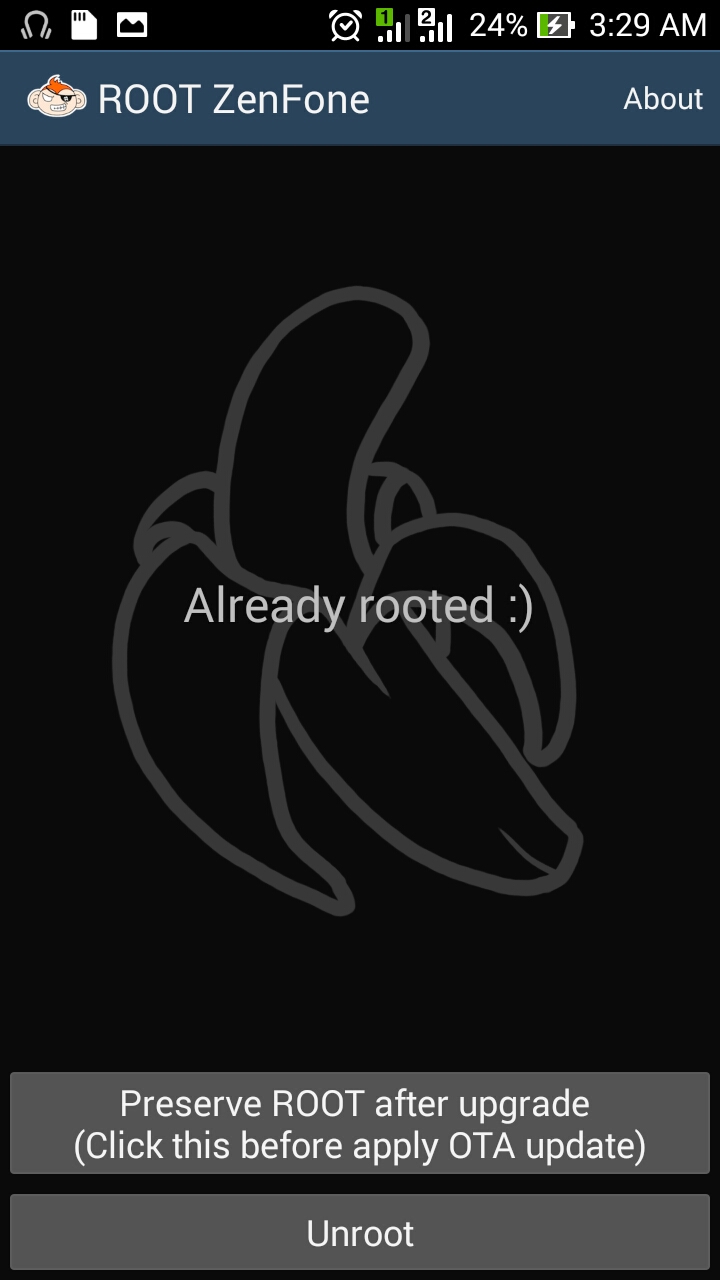 |
| Already rooted! |
If for some reason you want to double check if your
ZF5 is Rooted. Install
Root Check:
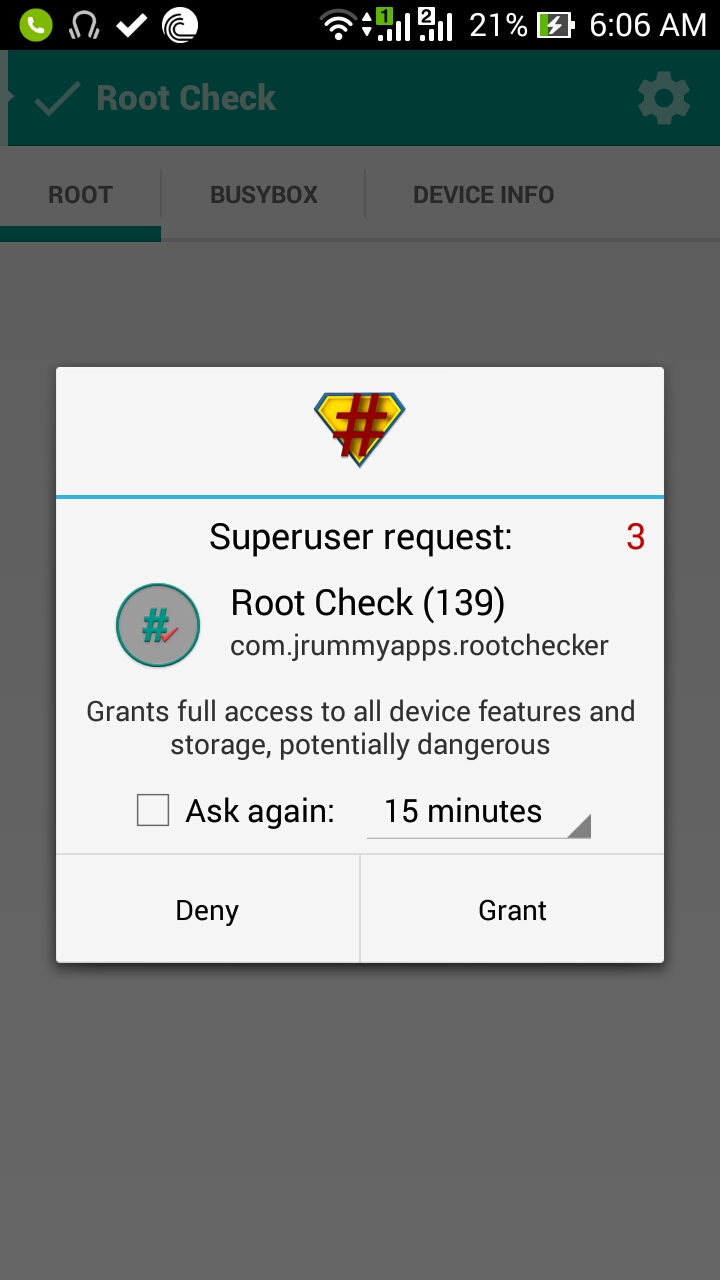 |
| Choose "Grant" |
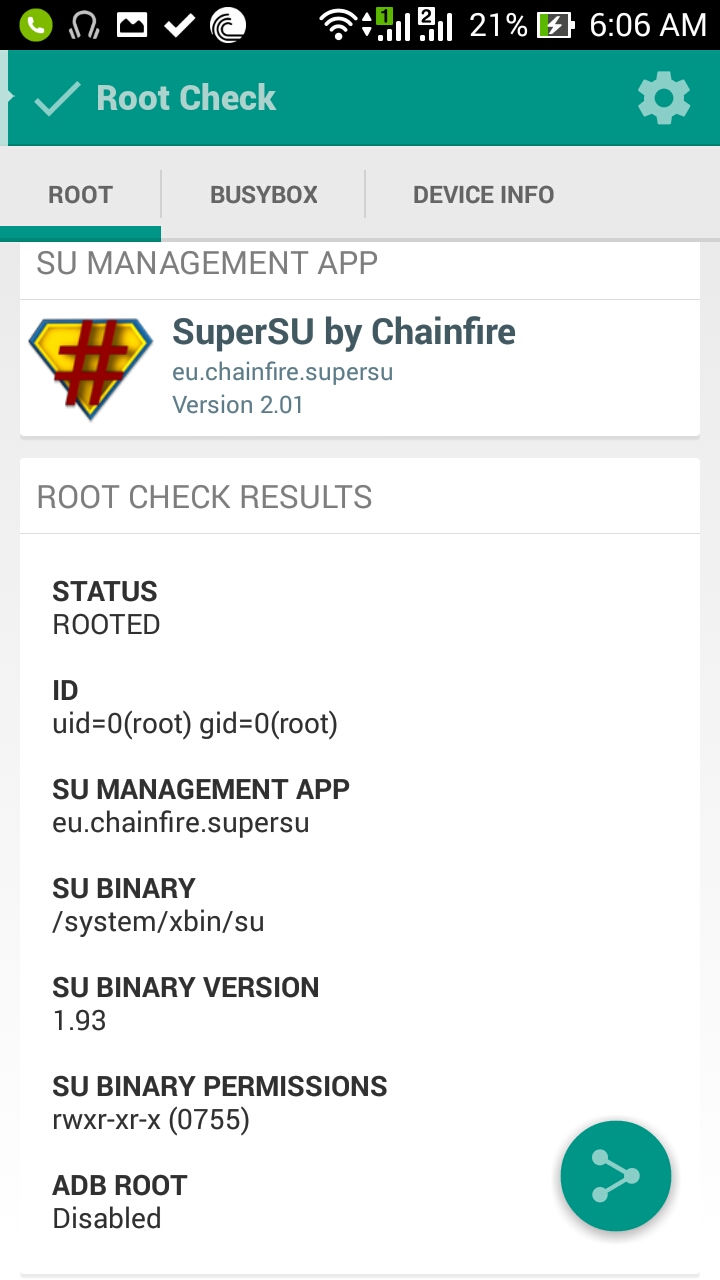 |
| Root Info |
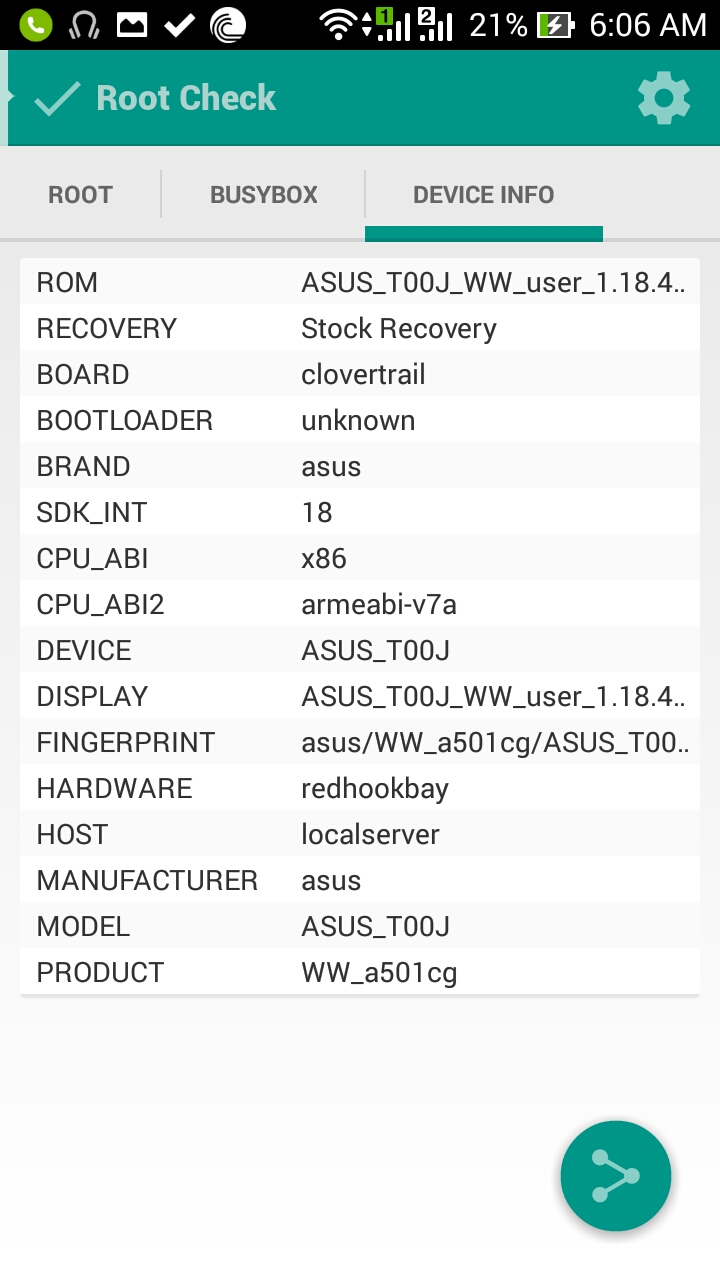 |
| Device Info |
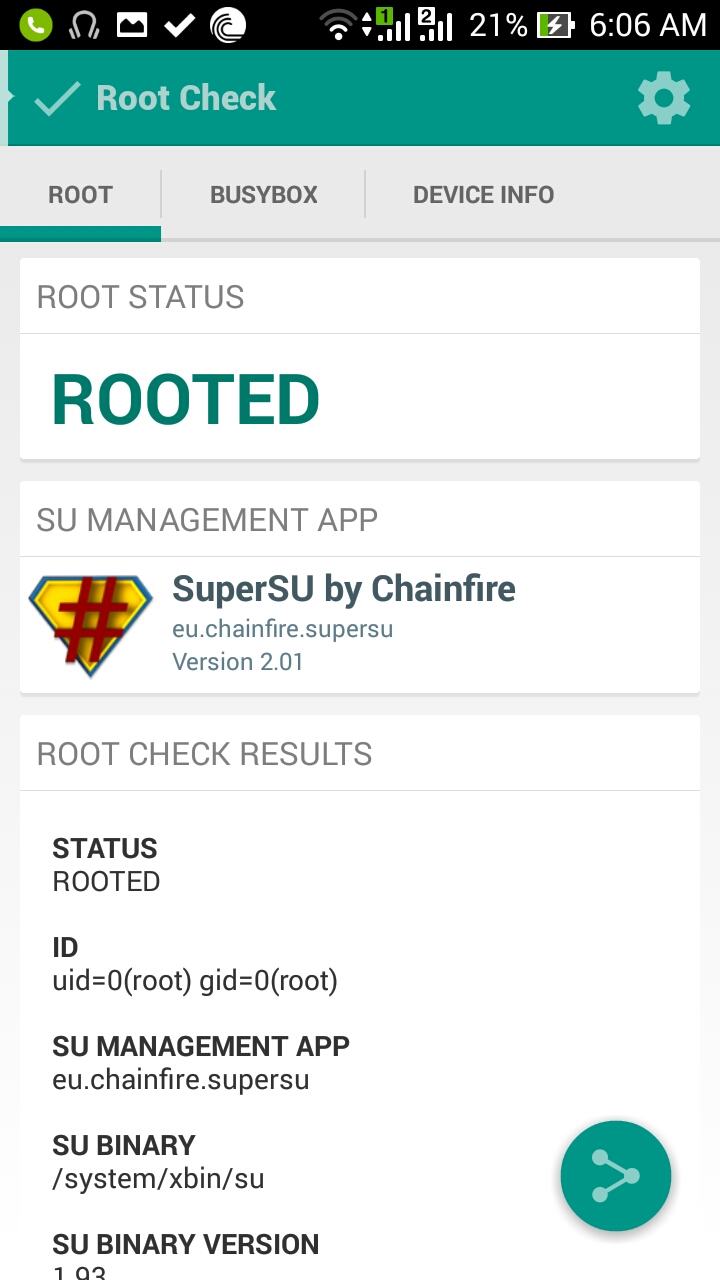 |
| Root Status |
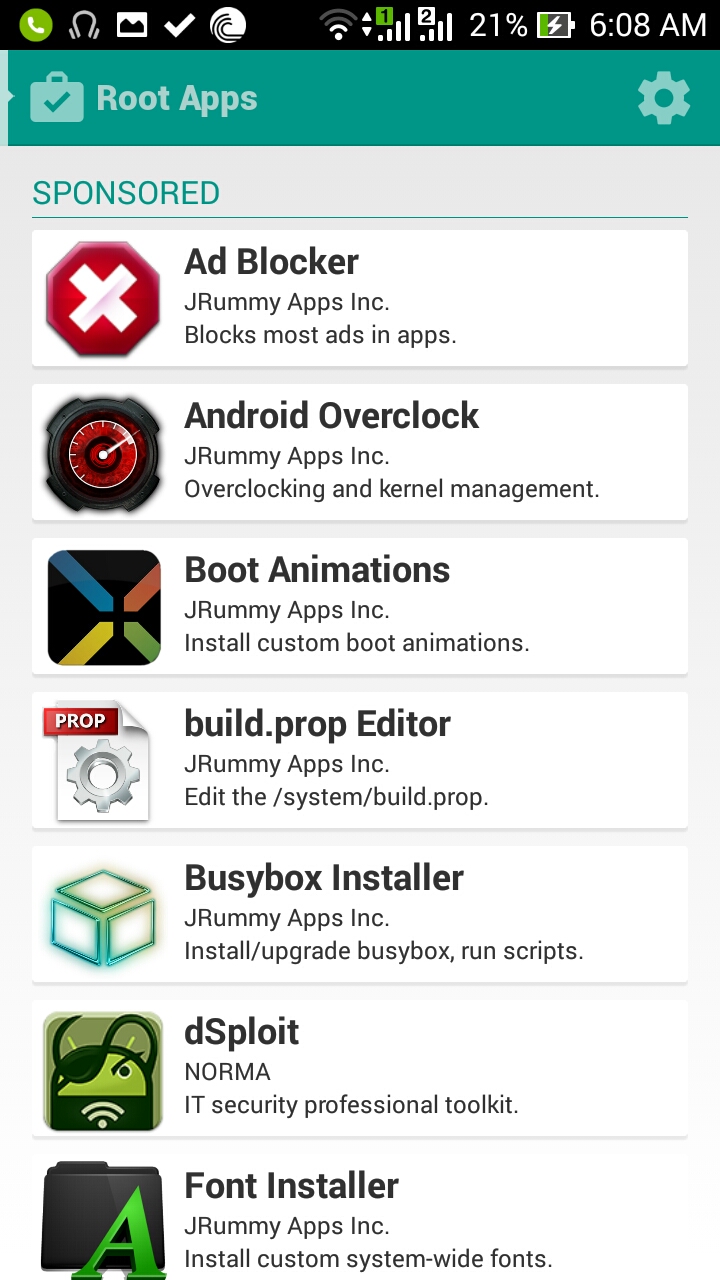 |
| Root Check suggested Root apps |
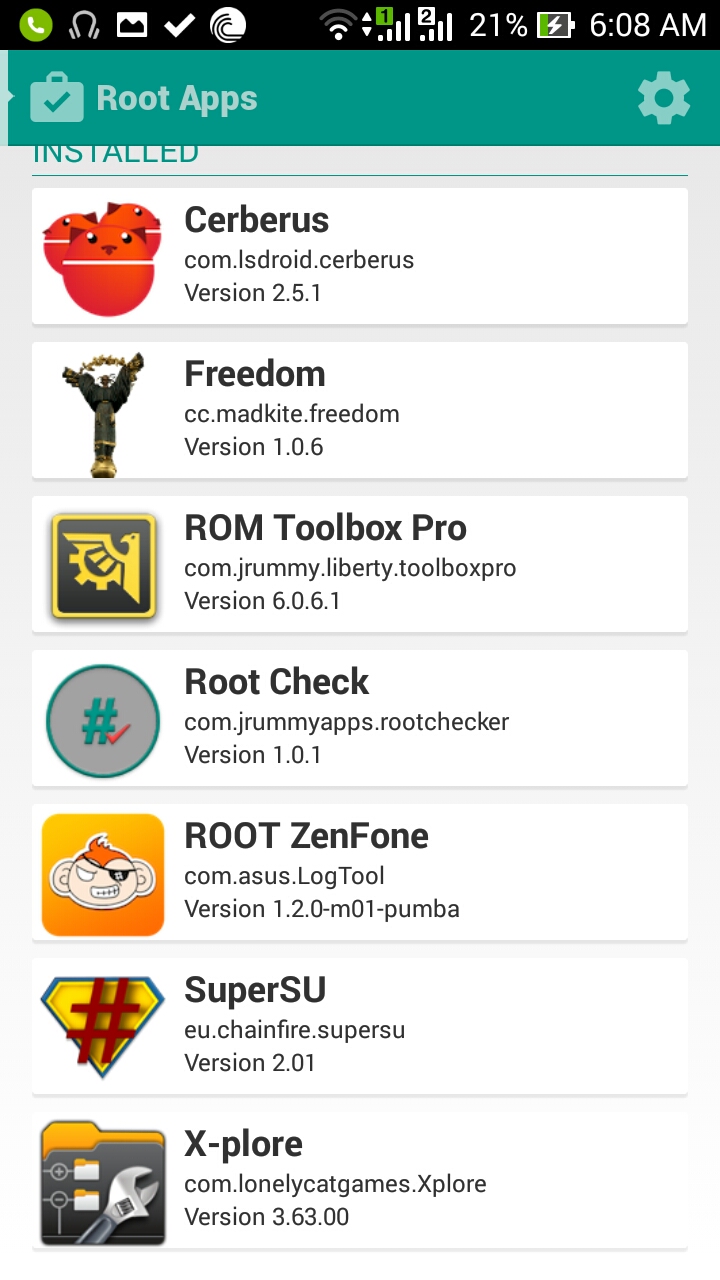 |
| Root Apps will show all root apps currently installed on your device |
Congratulations~! You now have a rooted Asus Zenfone 5! Look at you! Rooting an Android device without using a computer! (If you had to, we can keep it our little secret...)
!! Important !!
The Asus Zenfone 5 I bought was still running Android Jellybean. But the KitKat 4.4 OTA update was already available. If you followed this guide to root your ZF5 JB and you apply the OTA update after, it will download all available updates and upgrade your ZF5 to KK and you will lose root access!
Want to know how to update your Asus Zenfone 5 Jellybean to Kitkat and preserve your root access? Watch out for the tutorial!
Is it too late for me to do an Asus Zenfone 5 review? Comment below!